Physical retail is still where the magic happens. According to new research by RSR, 85% …
Single Sign-On with SAML

Single Sign-On with SAML
One of the many new features included in version 3.15 of SymmetricDS Pro is the ability to sign in to the web console using SAML authentication. Additional improvements were made for this feature in version 3.15.2.
Security Assertion Markup Language (SAML) is a standard that allows for authentication between identity providers (IdPs) and service providers (SPs) via XML documents. With SAML authentication, users only have to sign in once to access multiple applications. This experience is known as single sign-on, or SSO. To learn more about SAML and SSO, see SAML Explained in Plain English.
The first step of setting up SAML authentication for SymmetricDS Pro is to configure your identity provider. While this article uses JumpCloud and Auth0 as examples, there are many other SAML identity providers that have the same features and can be configured in a similar way.
Start by creating a new application within your identity management software to act as a SAML identity provider for SymmetricDS. When prompted to enter the Service Provider (SP) Entity ID and ACS URL, enter the following and specify your hostname, port, and engine name:

You will need to specify one ACS URL for each node that users should be allowed to log in to using SAML authentication. While many identity providers allow you to enter multiple ACS URLs for an application, some only allow you to enter one per application. In that case, you will need to create one application for each node that you want to allow users to log in to.
Some identity providers also give you the option to upload the metadata from the service provider instead of manually typing in the relevant URLs. The metadata comes in the form of an XML file which you can obtain by visiting the URL for the SP Entity ID.
Another option that many identity providers offer is the ability to select the name ID that will be sent back to the service provider (SymmetricDS) upon a successful login. When you set up your console users later on, their user IDs must match their name IDs for them to be able to sign in. The options often include the user’s email address, username, first name, and last name. It would be best to choose an option that allows each user’s name ID to be unique, such as their email address or username.
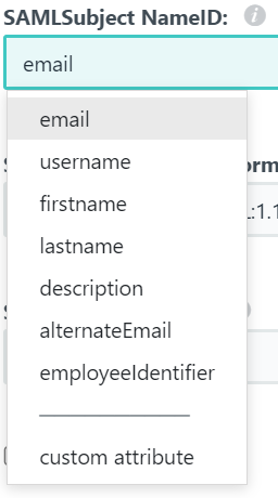
Most identity providers also require you to specify a set of users that are allowed to log in using each application. A simple way to do this in JumpCloud is to select the “All Users” group to allow all users to sign in to your application with SAML.

Now that you have configured your identity provider, the next step is to enter your identity provider’s information into SymmetricDS. You can accomplish this via the SymmetricDS Pro web console on the SAML tab of the Configure Single Sign-On screen.
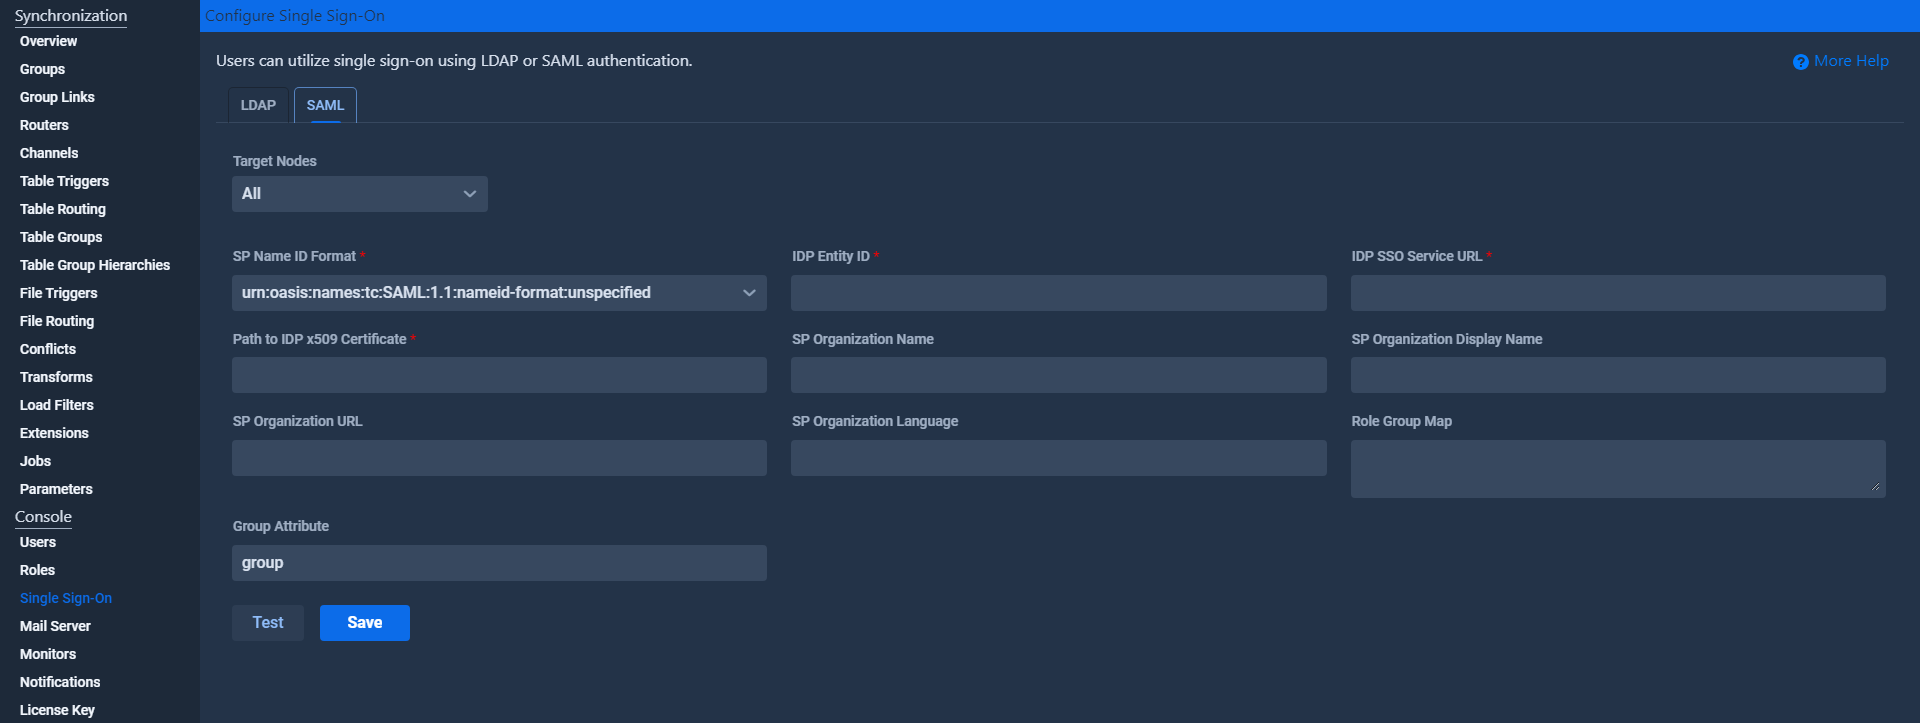
The SP Name ID Format is an advanced setting that allows you to place constraints on the name ID that comes back from the identity provider. In most cases, you can leave this set to the default value ending with “unspecified”.
You can find the IDP entity ID and the IDP SSO service URL in your identity provider’s configuration. Simply copy and paste these URLs into the SymmetricDS Pro web console.


You can also find the IDP x509 certificate in your identity provider’s configuration. While some identity providers allow you to download the certificate, others only let you download the IDP metadata file.
If the only option is to download the metadata file, then you can get the x509 certificate from this file. Open the metadata file in a text editor and copy the contents of the “X509Certificate” tag into a new text document. Make sure that the certificate has the proper beginning and end, as shown below, and then save the file.
—–BEGIN CERTIFICATE—–
{certificate text}
—–END CERTIFICATE—–
Once you have the IDP x509 certificate saved to a file, enter the path to this file into the “Path to IDP x509 Certificate” field in the web console.
There are a few fields beginning with “SP Organization” that allow you to specify additional information about your organization. These fields are not required.
The final step to set up SAML authentication is to configure how you want users to be able to log in to the web console. If you’re running version 3.15.2 or newer, you have two options, and you can choose either or both of them.
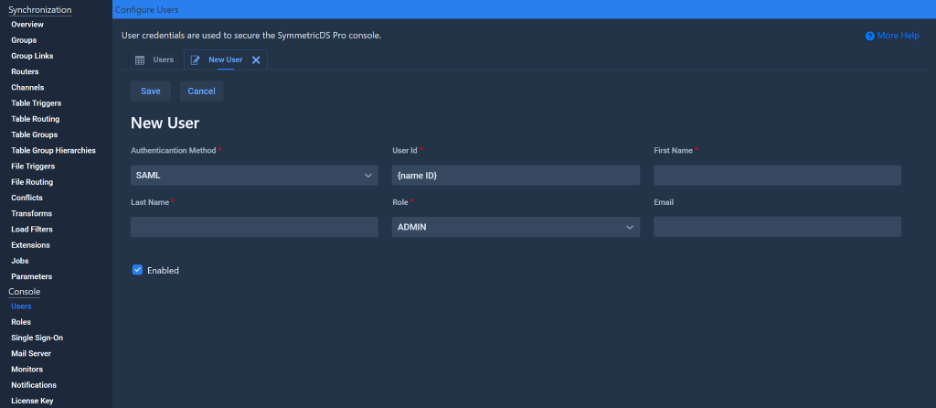
The first option is to create a console user for each SAML user. Make sure that each console user is configured to use SAML authentication and that each console user’s ID matches their name ID.
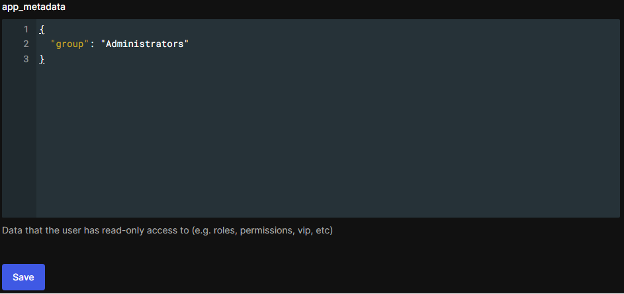
The second option is to configure a mapping of SAML groups to console roles via the Role Group Map and Group Attribute fields. This option was added in version 3.15.2 and it allows users to log in via SAML without having a corresponding console user as long as they belong to one of the specified SAML groups. The user will be given the console role that their group is mapped to. SymmetricDS determines whether or not a SAML user belongs to a particular group by checking the value of the specified Group Attribute within the SAML response sent from the IDP to SymmetricDS during login. Usually it is possible to specify such attributes via your identity management software.
You can test SAML authentication and check users’ name IDs by clicking the “Test” button on the SAML tab of the Configure Single Sign-On screen. Make sure that you have saved your settings before running the test. If the authentication is successful, you will see a screen displaying the name ID of the user who logged in as well as a message describing whether an enabled console user exists with a corresponding user ID, or whether the user has been mapped to a role.

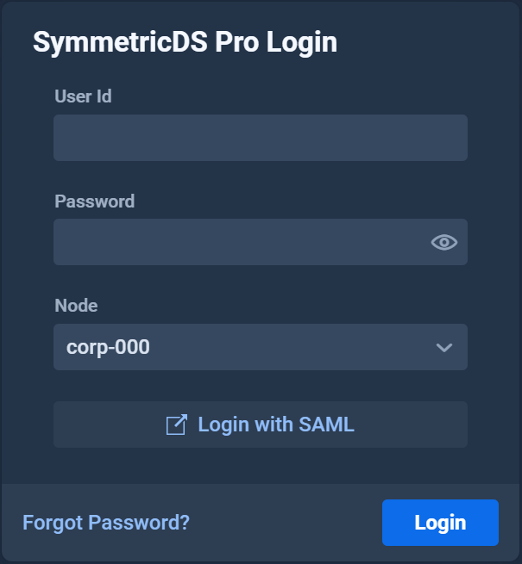
Now that you’ve configured SAML authentication, users can sign in to the SymmetricDS Pro web console by clicking the “Login with SAML” button on the login screen. This will take them to the identity provider’s login screen where they can sign in and then get redirected back to the web console. If the user has already logged in elsewhere via SAML, then they will go straight through to the web console without having to enter their credentials.
SAML is a secure authentication standard that facilitates the convenient feature of single sign-on. Version 3.15 of SymmetricDS Pro utilizes SAML authentication to make it possible to sign in to the web console with the click of a button. In addition, version 3.15.2 includes bug fixes for SAML users and a new feature that allows users to log in via SAML without requiring a corresponding console user. To learn more about the other new features included in version 3.15, check out What’s New in SymmetricDS 3.15.


