Imagine this: your POS vendor only supports Windows, but your store associates prefer iPads, your …

![]()
Cloud-native POS platform for seamless omnichannel customer experience.
![]()
A single hub for all promotions campaigns.
![]()
A comprehensive solution designed to simplify and give you ownership of the inventory lifecycle.
![]()
A native post-transaction reconciliation module built into Jumpmind Commerce.
![]()
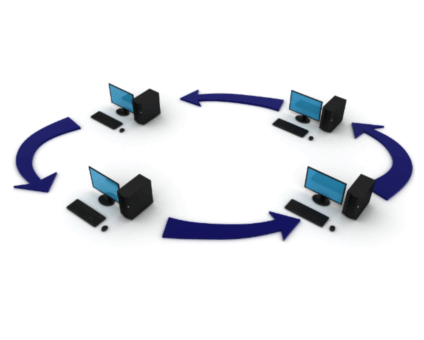
The most advanced synchronization solution for databases and file systems.
![]()
Data configuration and batch automation across different disparate systems and vendors.
Imagine this: your POS vendor only supports Windows, but your store associates prefer iPads, your …

Your POS system shouldn’t be an island. In today’s retail environment, your point-of-sale platform needs …

Introduction In retail, POS updates have traditionally been quarterly events at best. From October through …

If you run SymmetricDS in production, you know the drill: dozens of nodes, constant data …
Overview Organizations today face the challenge of consolidating data from on-premise and cloud-based systems into …
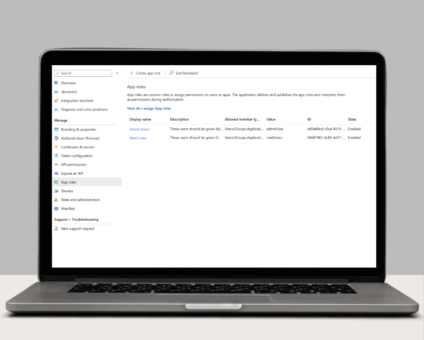
Single Sign-On with OAuth 2.0/OpenID Connect One of the many new features included in version …
Introduction In retail, POS updates have traditionally been quarterly events at best. From October through …

Jumpmind Powers Point of Sale and Promotions Execution for Landmark Retail, One of the Largest …

Retail Technology Leader Jumpmind to Enable Mobile Point of Sale and Inventory Management for DTLR/VILLA …

LONDON – April 21, 2026 – Jumpmind, a leading provider of innovative retail technology solutions, …

Physical retail in Europe is in a stronger position than many headlines suggest. New research …
If you run SymmetricDS in production, you know the drill: dozens of nodes, constant data …
![]()
Cloud-native POS platform for seamless omnichannel customer experience.
![]()
A single hub for all promotions campaigns.
![]()
A comprehensive solution designed to simplify and give you ownership of the inventory lifecycle.
![]()
A native post-transaction reconciliation module built into Jumpmind Commerce.
![]()
The most advanced synchronization solution for databases and file systems.
![]()
Data configuration and batch automation across different disparate systems and vendors.

The Sql Explorer has gone under some major reconstruction in 3.6 and subsequent updates. Among these changes include new features, as well as some UI improvements and updates.
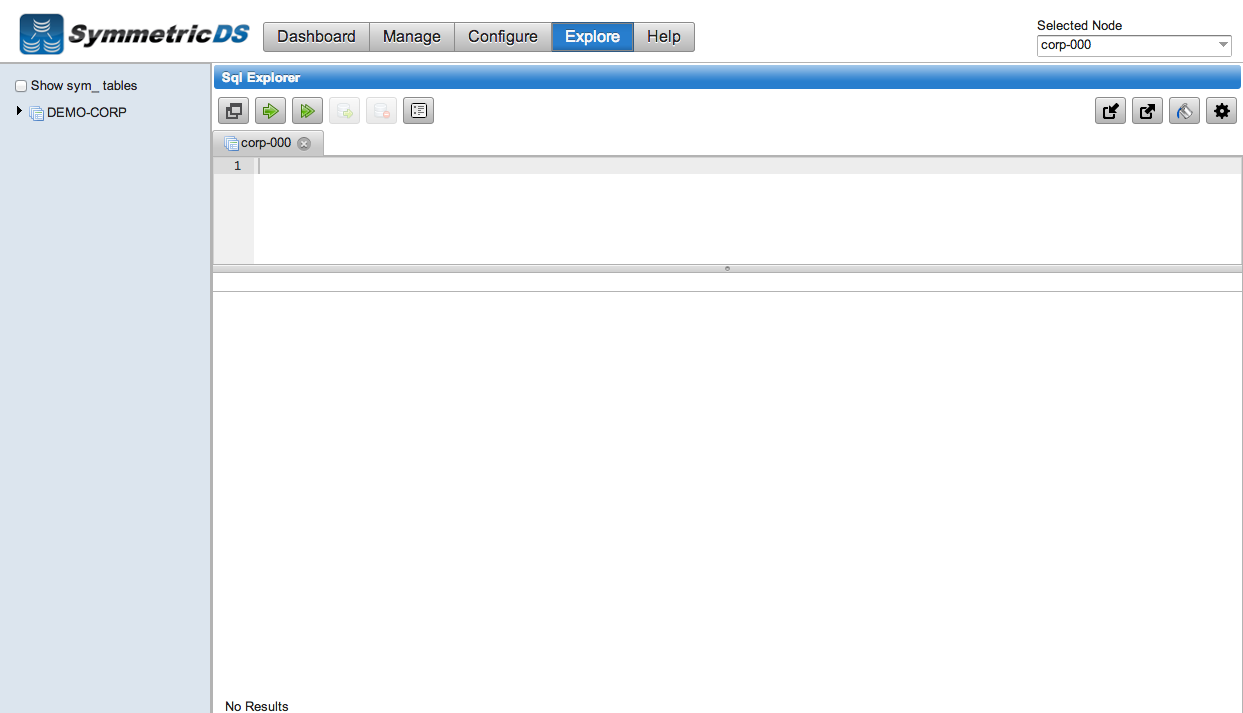
Improved Sql Explorer UI
Perhaps the first thing you will notice is the updated toolbar. In addition to the updated icons, the buttons on the toolbar are now split into two sections — the left “local” section and the right “global” section. The local buttons are relevant to the Sql Area, while the global buttons are relevant to the entire Sql Explorer. Let’s dive into these buttons.
The local buttons functionality has remained the same throughout this remodeling. However, there are three important improvements to take note of: the Sql History search bar, the “removal” of the Max Results field, and the “removal” of the Excel button.
Sql History Search Bar
The search bar runs a search on all the columns in a row to filter out unuseful rows. The Max Results field has been moved to the Settings button and the Excel functionality moved to the result tab, both of which will be discussed later on.
The global buttons are all new features to the Sql Explorer. The first button, Database Import, allows you to import data in multiple ways. You may import a SQL, XML, CSV, or SYM_XML file to manipulate your database. It is worth noting that the Table select only becomes active for CSV. The Table select may be pre-populated by highlighting the desired table in the Database Explorer and clicking the import button.
Database Import
The second button, Database Export, allows you to export tables and/or data from your database. The first screen in this dialog requires you to select the tables you want to deal with. The tables you have highlighted in the Database Explorer will be selected by default.
Table Selection
The next screen allows you to choose your options for the export. It is worth noting that you have two choices for the Export Format: Export as a File and Export to the SQL Editor. The former will export to a downloadable file while the latter while export to the SQL Editor in the Sql Explorer.
The third button, Database Fill, allows you to fill tables with “junk” data. The first screen is the same table selection dialog as the Database Export button, which can be read about above. The second screen contains options for the fill.
![]()
Database Fill Results
The last button, Settings, allows you to change the Sql Explorer parameters, normally found in Configure->Parameters. The parameters will be pre-populated to their most recent value. Upon saving your changes, the parameters will be changed. It is worth noting that this is where the Max Results field has been moved to. A new parameter has also been added, Show Row Numbers, which if enabled, will show the row numbers in the result table of a query. This parameter is turned on by default. Note that for each query, you may choose to hide or show the row numbers without changing the parameter value by toggling the “#” column using the arrow on the far right of the column headers.
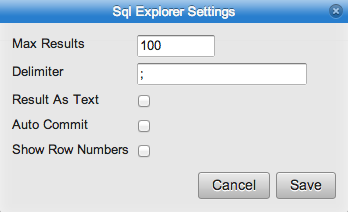
Sql Explorer Settings
You may have noticed some new features and improvements in the previous picture of the Database Fill results. We will discuss those next.
The first improvement is the label underneath each tab. This label contains information for the result table. It displays the number of rows returned, or the number of rows limited to if the Max Results parameter in the settings is < than the rows returned from the query, as well as the query.
There are two new features for each tab to discuss, which are located on the right side of each tab. The first is a refresh icon. Clicking this will re-run the query that was run for that tab in that tab, essentially refreshing the tab itself. The next icon an export button. It allows you to export the result of the query in either Excel or CSV format. It is worth noting that this has replaced the functionality of the old Excel button.
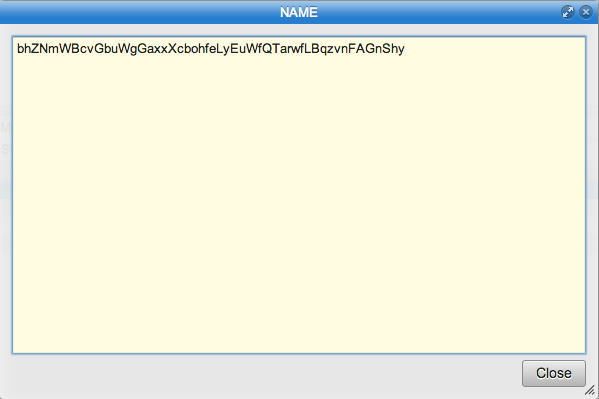
There are a few new features to discuss in the result table itself. Rows are now double-clickable to bring up a window with the data from the row and column you double-clicked. If the column you double-clicked is of type binary, you will also be given the option to view the data as Hex, Text and Decimal.
Data Result
Rows are also now right-clickable, which gives you the option to either Insert or Update the selected rows. These options will create the statement type you want and send it to the Sql Editor. Both of these options use the data from the rows to pre-populate the data in the statement.
Table Insert and Update
The Database Explorer has also gone under some significant changes. The first and perhaps the most obvious being the checkbox to show sym_ tables. The checking and unchecking of this box will refresh the Database Explorer to include/exclude the SymmetricDS tables.
All nodes are now double-clickable in the Database Explorer. If the node is expandable (ie. Catalogs and Schemas), double-click will expand/collapse the node. If the node is not expandable (ie. Tables), the double-click will open the table’s properties, which will be discussed later.
In addition to being double-clickable, all nodes in the Database Explorer are now also right-clickable. If the node is expandable (ie. Catalogs and Schemas), the right-click will give the option to refresh the Database Explorer. If the node is not expandable (ie. Tables), the right-click will give you a list of options.
Right-Click Options
Browse will open a new tab in the result area for each highlighted table, running a SELECT * FROM query. There are a few differences between Browse and the next option, Select From. Browse simply opens a tab for each of the selected tables without putting anything into the Sql Editor. Select From, however, writes a select statement that includes the column names and puts it into the Sql Editor.
Insert Into and Update Set create their respective statements on the selected table(s), using the default values for each column’s JDBC type. Drop will drop the selected table(s) after a confirmation dialog. Please note that this action is final and cannot be undone. Drop will not cascade, so if there are other tables that depend on the dropped table(s), you should take note of these before you confirm to drop the selected table(s).
Import, Export and Fill have the same functionality of the buttons in the global section of the toolbar. Their inclusion in the right-click options is for convenience, as the table selections will pre-populate any highlighted tables in the Database Explorer.
Copy Name copies the selected table(s) fully qualified name to the Sql Editor at the spot of the cursor. It is worth noting that you may highlight multiple tables and copy their names with a space in between each name.
Properties is a replacement for the old right-click option “View”. Now a window pops up that contains a table of the table’s properties. In addition, the table’s catalog, schema, and name are now excluded. It is worth noting that this window may be popped up by double-clicking an un-expandable (ie. Table) node.
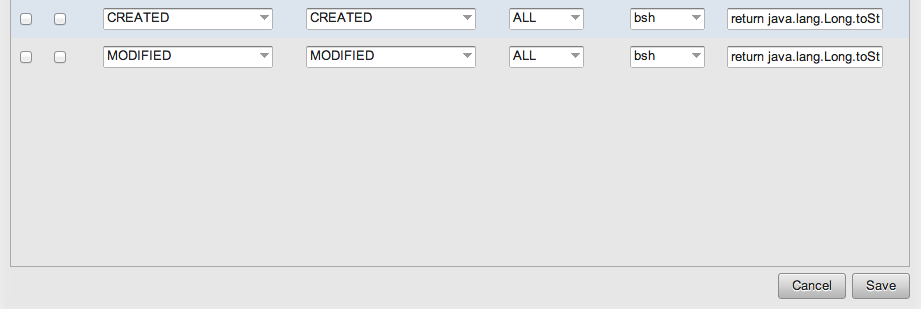
Table Properties
These new features and improvements have made the Sql Explorer easier to use and much more helpful in managing your Database. If you have any suggestions, feel free to leave a comment below!